PLATFORM WORKFLOW
Task Description: Create Custom Values
Objective: How to create Custom Values
Organization: All
System Permission Level: System Admin/User and Organization Admin/User
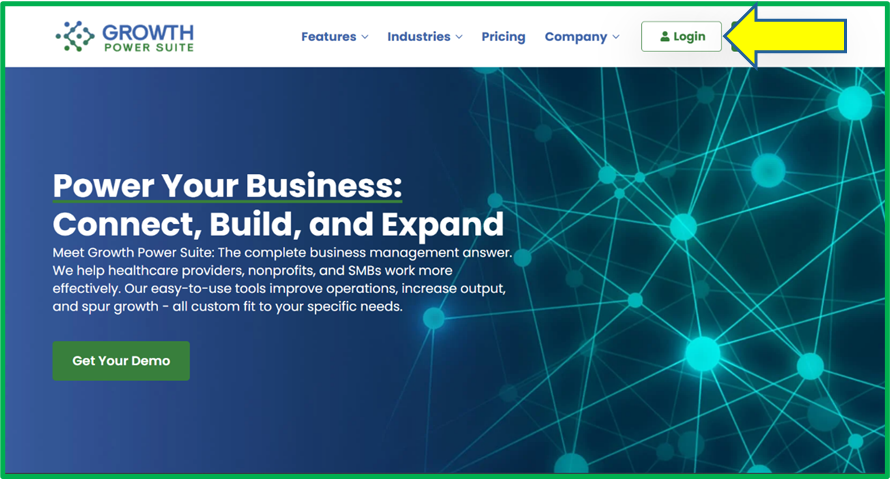
Step 1
Go to www.growthpowersuite.com and click the green Login button.
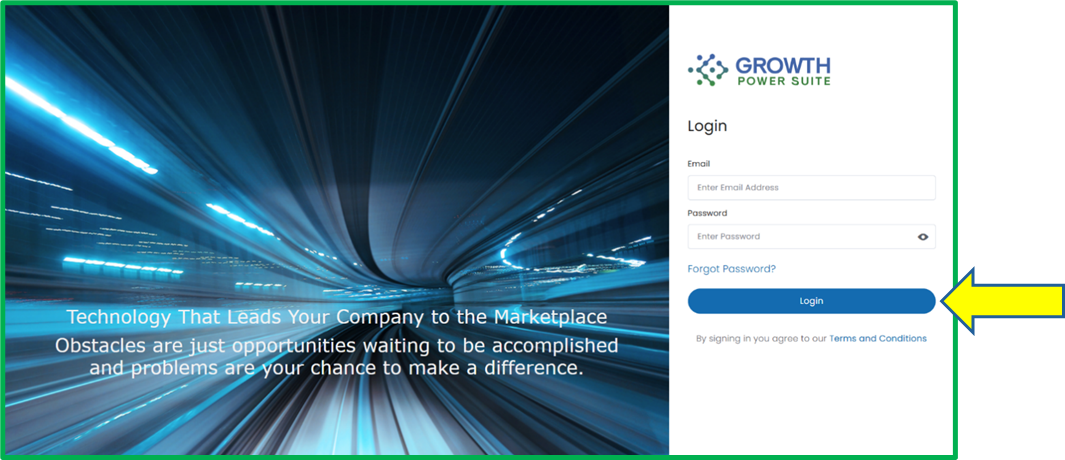
Step 2
Enter your username and password then click the blue Login button.
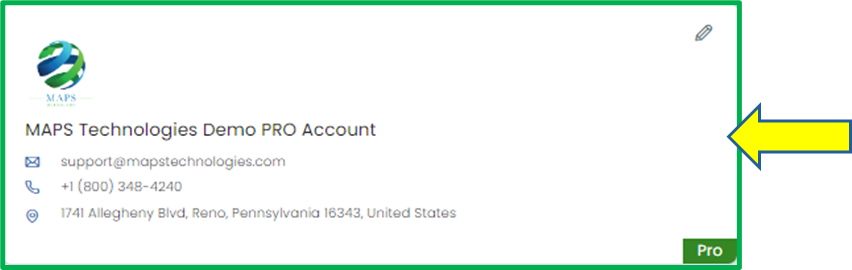
Step 3
Click on your Organization (if you are in multiple organizations). If you are only in one, you will begin on the Dashboard.
Step 4
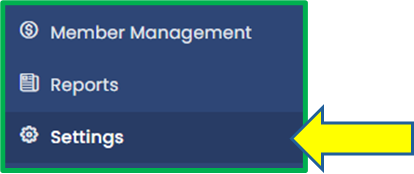
Click on the Settings tab on the Module Menu Panel.
Step 5
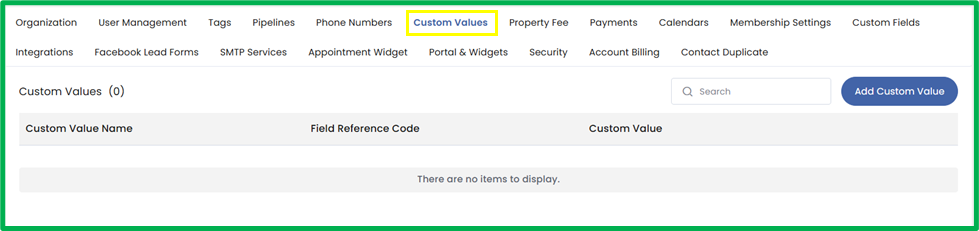
At the top of the Settings page, click the Custom Values tab to access the Custom Value management page.
Step 6
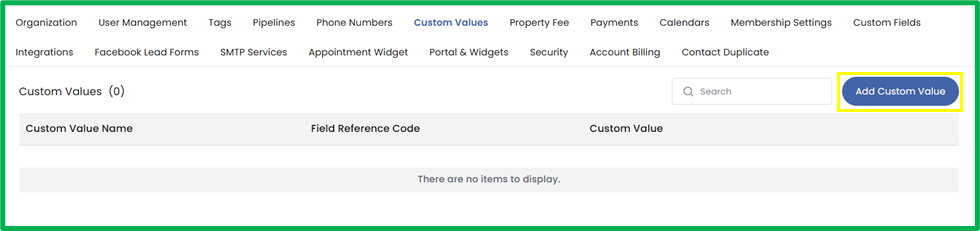
Click the Add Custom Value button on the top-right corner of the page.
Step 7
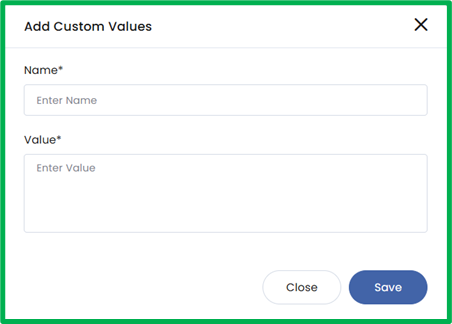
An Add Custom Values popup will appear, prompting you to enter a Name and Value. Custom Values are preset pieces of text saved in the system that can be reused across your organization. The Name is what users will select when composing a message, and the Value is the content that will automatically populate when that Custom Value is used. This allows users to quickly insert frequently used information such as directions, reminders, or standard responses while maintaining consistency and efficiency.
Step 8
Once you’ve filled in the Name and Value, click Save to create the Custom Value.

Step 9
To edit the Custom Value, locate the Custom Value you’d like to edit and click the pencil icon on the right.

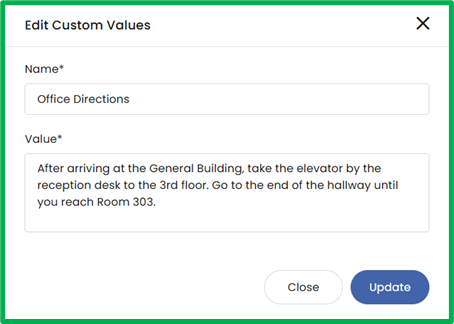
Step 10
An Edit Custom Values popup will appear, allowing you to modify the fields. Once your changes are complete, click Update to save the edits.
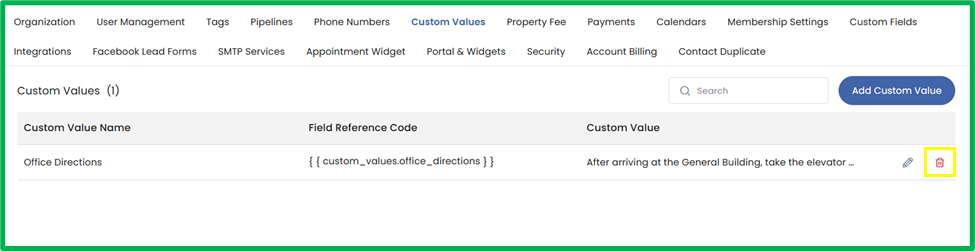
Step 11
To delete a Custom Value, locate the Custom Value you’d like to remove and click the trash can icon on the right.
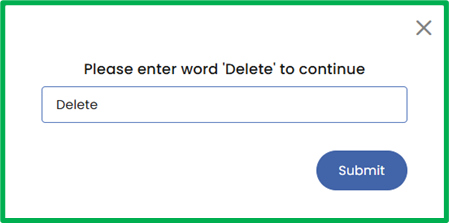
Step 12
A delete confirmation popup will appear. Type Delete in the textbox and click Submit to confirm the removal of the Custom Value.