
PLATFORM WORKFLOW
Task Description: How to generate a pre-defined report
Objective: To show Organization Admins permission level and Users how to generate a pre-defined report
Organization: All
System Permission Level: System Admin/User and Organization Admin/User
Step 1
Go to www.growthpowersuite.com and click the green Login button.

Step 2
Enter your username and password then click the blue Login button.

Step 3
Click on your Organization (if you are in multiple organizations). If you are only in one, you will begin on the Dashboard.

Step 4
Click on the Reports tab on the Module Menu Panel.

Step 5
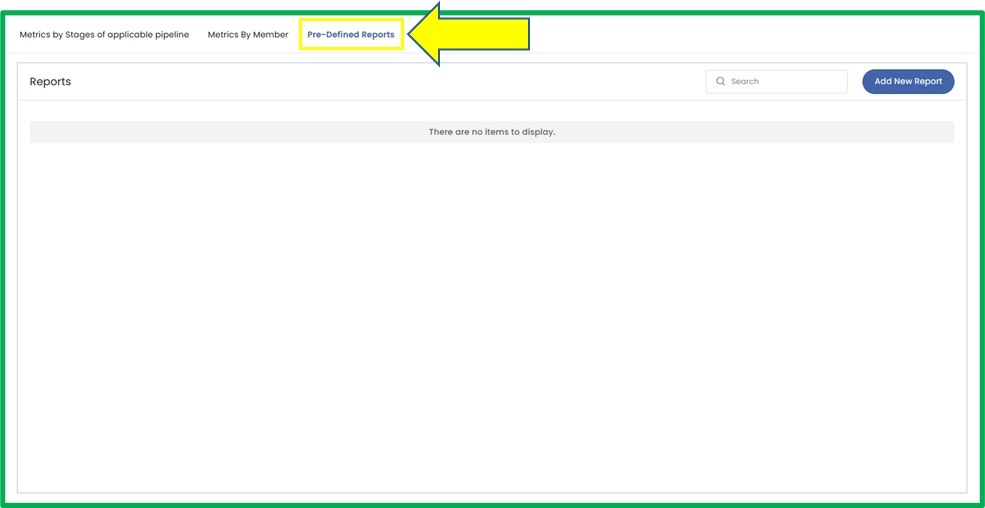
At the top of the Reports page, click the Pre-Defined Reports tab.
Step 6
To create a new report, click the Add New Report button located at the top-right corner of the page and an Add New Report popup will appear.

Step 7
Name the report and, optionally, choose a folder to store it. If you don’t select a folder, click Add to create the report without one.

Step 8
If there are no existing folders and you want to create one, click the blue Add New Folder link.

Step 9
Then, the dropdown will convert into a Folder Name field. Name the folder and click Add to create the report within the new folder.

Step 10
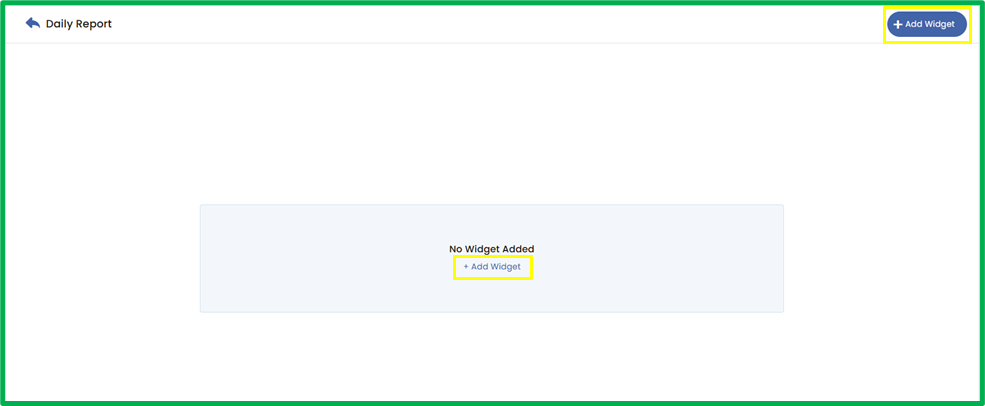
After creating the report, you will be redirected to the Add Widget screen. Widgets are metric boxes containing customizable data types. To create a widget, click the Add Widget button in the middle or top-right corner of the screen.
Step 11
You will be directed to the widget configuration page, where you can choose from six available widget types: Numeric, Donut Graph, Line Graph, Bar Graph, Horizontal Bar Graph, and Table.

Step 12
Next, click the Contacts dropdown to view the available contact data. Currently, only the Contacts attribute is available, but more attributes will be added in the future. Scroll through the list of 15 contact attributes and select the one you want to display in the widget.

Step 13
Once you select an attribute, configure it in the middle panel.
Title Field: Rename the widget, if needed.
Metrics Dropdowns: These can remain as default.
Date Property Dropdown: Use this to refine contacts based on when they were created, last updated, or their birth date.
Date Range Override Field: Choose a specific date range for the selected Date Property. For example, you can choose to see tagged contacts created in your chosen time frame or tagged contacts updated within a specific time frame.

Step 14
To further customize the attribute, click the Filters tab in the middle panel and select the Add Group button.

Step 15
In the filter group, you will see three dropdown fields. For example, if you select Contacts Counts by Tags, do the following to refine the results.
- Select Tags from the Select Fields dropdown.
- Select a condition from the Select Condition dropdown:
- Is: includes records matching the specified value.
- Is not: excludes records matching the specified value.
- Is one of: includes records matching any of the selected values.
- Is none of: excludes records matching any of the selected values.
- Is empty: captures records with no value in the selected field.
- Is not empty: includes records where the field has a value (i.e., it’s not blank).
- Is all of: includes records matching all selected values.
- Use the last dropdown to select specific tags from your organization.
NOTE: The conditions and last dropdown will adjust depending on your field selection.

Step 16
You can add multiple Groups. To apply the AND logic between groups, select the first radio button All of the filters below. To apply the OR logic between groups, select the second radio button Any of the filters below.

Step 17
After configuring the widget, click Refresh the Preview to see the results.
In my example, I have configured the date property to contacts created on and the date range to lifetime. I further refined the criteria to include only contacts with the ‘2023 Junior Golf Camp’ tag. After refreshing to preview, it displayed a result of 9 contacts. This means that, over the lifetime of the organization, 9 contacts have been assigned the ‘2023 Junior Golf Camp’ tag.

Step 18
When satisfied with the customization, click the Save Widget button at the top-right corner to save it on the report’s dashboard.

Step 19
Your report dashboard will display the widget, similar to the example below. You can add up to nine widgets to a report dashboard.
